
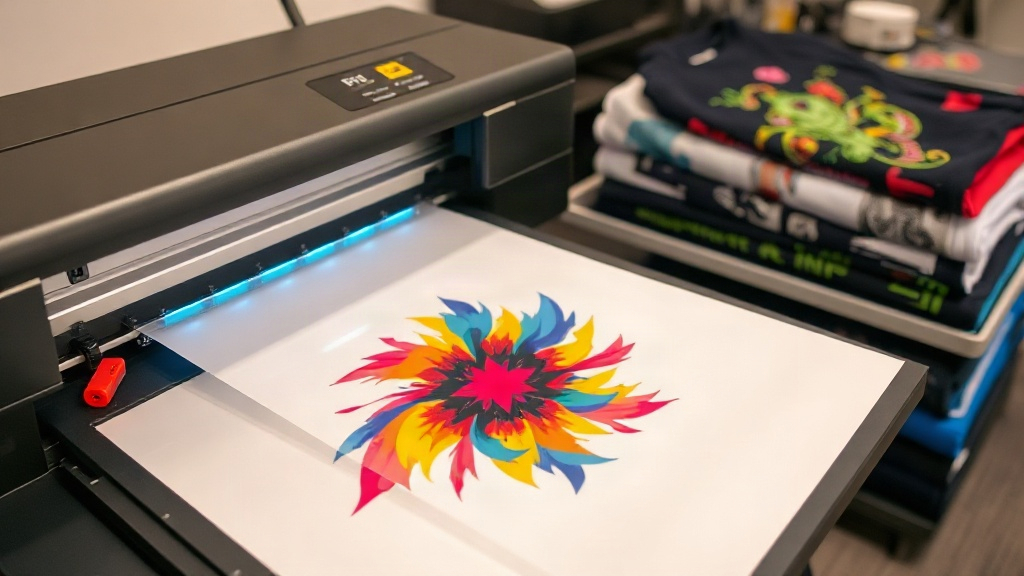
If you've been exploring custom apparel decoration, you've likely encountered DTF printing. This innovative technology is transforming how creators and businesses produce vibrant, full-color designs on a wide range of fabrics. Unlike traditional methods that require specific material blends or extensive setup, DTF printing offers a versatile, accessible solution. In this guide, we'll walk you through everything you need to know to get started with DTF printing and achieve professional results.
What Exactly Is DTF Printing?
DTF stands for Direct-to-Film. It's a printing process where your design is printed onto a special PET film using water-based pigments, then coated with a hot-melt adhesive powder. After curing, the transfer is pressed onto the fabric with a heat press. The result? A soft, stretchable, and durable print that bonds permanently to the material.
What sets DTF apart is its ability to work on almost any fabric, including cotton, polyester, blends, and even nylon. No pre-treatment is required, and you can print on dark and light garments with equal ease. This flexibility makes DTF a favorite for small businesses, hobbyists, and anyone looking to create custom items without breaking the bank.
Why Choose DTF Over Other Printing Methods?
You might wonder how DTF compares to vinyl, screen printing, or DTG (direct-to-garment). Here are a few reasons why DTF stands out:
- No color limitations: Print gradients, photographs, and fine details without worrying about color count.
- Fabric versatility: Works on cotton, polyester, blends, leather, and more.
- Durability: The prints withstand repeated washing without cracking or fading.
- Cost-effective for short runs: No minimum order quantities; print one or one hundred with the same setup.
- Ease of use: With a good printer and heat press, the learning curve is manageable.
These advantages make DTF an excellent choice for custom t-shirts, tote bags, hats, and even home decor items.
Essential Equipment for DTF Printing
To start DTF printing, you'll need a few key pieces of equipment. While the initial investment might seem significant, it pays off quickly if you're producing multiple items.
1. DTF Printer
You can convert an existing inkjet printer (like an Epson) with a DTF ink system, or purchase a dedicated DTF printer. Dedicated printers often come with white ink circulation and better reliability for consistent production.
2. DTF Inks
These are specially formulated water-based pigments that include CMYK and white. White ink is crucial for printing on dark fabrics, as it acts as a base layer.
3. PET Film
This is the transfer medium. Look for double-sided matte or glossy film designed for DTF. It must withstand the heat press without curling or melting.
4. Hot-Melt Adhesive Powder
After printing, you'll apply this powder to the wet ink. It's what allows the transfer to bond to the fabric when heated.
5. Heat Press
A reliable heat press with precise temperature and pressure control is essential. You'll use it for both curing the powder and applying the transfer.
6. RIP Software
Raster Image Processor software helps manage color profiles, white ink layers, and print settings. It's a vital tool for achieving professional results.
Step-by-Step DTF Printing Process
Now that you have your equipment, let's walk through the DTF printing process from start to finish.
- Design Preparation: Create your artwork in a graphics program. Ensure it's mirrored (flipped horizontally) before printing, as the transfer will be pressed face-down.
- Printing: Load the PET film into your printer. Print the design using the DTF ink set. The printer will lay down CMYK and white ink in the correct order.
- Powder Application: While the ink is still wet, sprinkle the hot-melt adhesive powder evenly over the printed area. Shake off any excess.
- Curing: Place the film in a heat press or oven to melt the powder. This typically takes 2-3 minutes at around 160°C (320°F). The powder should turn glossy, indicating it's cured.
- Transfer: Set your heat press to the recommended temperature (usually 150-160°C) and pressure. Place the cured film onto the fabric, cover with a protective sheet, and press for 10-15 seconds.
- Peel: After pressing, wait a few seconds for the transfer to cool slightly, then peel off the film. For a matte finish, peel while hot; for glossy, wait until cold.
And that's it! You've created a custom DTF transfer.
Tips for Perfect DTF Transfers
To ensure your DTF prints look great and last long, keep these tips in mind:
- Test your settings: Every heat press and fabric behaves differently. Do test presses to find the ideal temperature, pressure, and time.
- Control moisture: PET film absorbs moisture, which can cause popping or uneven curing. Store film in a dry place and consider pre-drying before printing.
- Use quality powder: Cheap powder can lead to clogged nozzles or poor adhesion. Invest in reputable brands.
- Maintain your printer: Regular cleaning and printhead maintenance prevent clogs and ensure consistent output.
- Handle with care: Cured transfers can be stored for later use. Keep them in a cool, dry place away from direct sunlight.
Common DTF Printing Challenges and Solutions
Even with the best setup, you might encounter issues. Here's how to troubleshoot common problems:
1. Faded or Patchy Prints
This often results from insufficient ink coverage or incorrect powder application. Check your print settings and ensure the powder is evenly distributed.
2. Cracking After Washing
If the transfer cracks, it may be under-cured or stretched too much during application. Increase curing time and avoid over-stretching the fabric when pressing.
3. Powder Not Sticking
This can happen if the ink is too dry before powdering. Work quickly and consider using a powder shaker for even coverage.
4. Film Jamming in Printer
PET film can curl if not stored properly. Use a film holder or adjust printer settings to accommodate thicker media.
Applications of DTF Printing
DTF printing isn't just for t-shirts. Its versatility opens up a world of possibilities:
- Apparel: Custom t-shirts, hoodies, polos, and jeans.
- Accessories: Tote bags, backpacks, hats, and socks.
- Home Decor: Cushion covers, aprons, and wall hangings.
- Promotional Items: Branded merchandise for events and giveaways.
Whether you're a small business owner or a DIY enthusiast, DTF printing can bring your ideas to life.
Frequently Asked Questions
What fabrics work best with DTF printing?
DTF printing adheres well to cotton, polyester, blends, and even nylon. It's particularly effective on fabrics that are difficult to print with other methods, such as 100% polyester.
How long do DTF prints last?
When properly applied and cared for, DTF prints can last as long as the garment itself. They withstand 50+ washes without significant fading or cracking.
Can I use DTF on dark colors?
Absolutely. The white ink layer in DTF printing provides a base that makes colors pop on dark fabrics.
Do I need a special printer for DTF?
You can convert a standard inkjet printer with a DTF ink system, but dedicated DTF printers offer better reliability and white ink circulation.
Is DTF printing cost-effective for small orders?
Yes, DTF printing has no minimum order quantity, making it ideal for one-off designs or small batches. The cost per print is reasonable, especially when compared to screen printing setup fees.
With this guide, you're well on your way to mastering DTF printing. Remember, practice makes perfect, so don't be afraid to experiment and refine your process. Happy printing!