
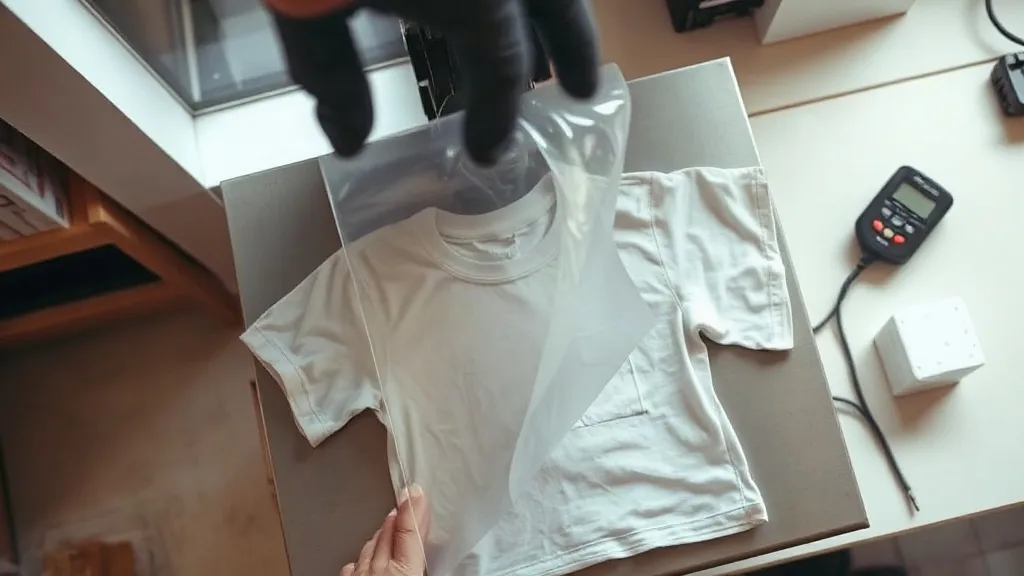
Most people who try DTF transfers for the first time blame the film when something goes wrong. In my experience, the film is rarely the culprit. Nine times out of ten the problem starts earlier: a printer that sat idle overnight, a shaker that spread too little powder, or a heat press that was never actually checked against a thermometer. Understanding where dtf transfers fail is the fastest way to stop wasting material and start producing shirts you would happily sell.
This guide walks through the process the way it actually happens in a small shop: the film, the powder, the press, and the small habits that separate a clean transfer from a cracked one three washes later.
What a DTF Transfer Actually Is
A dtf transfer is a printed design on a special PET film, coated with a thermoplastic adhesive powder while the ink is still wet, then cured and pressed onto fabric. The powder melts into the ink and becomes the layer that bonds to the garment. That is the whole trick. The ink carries the color, the powder carries the grip.
Because the adhesive does the bonding rather than the fabric itself, DTF works on cotton, polyester, blends, canvas, and even some nylon. That flexibility is why so many shops moved to it from vinyl cutting and screen printing for short runs. You print once, powder once, and press onto whatever the customer brought in.
Film, Ink, and Powder: Who Does What
The film is a carrier, not the final product. It has to release cleanly after pressing, which is why the quality of the release coating matters more than most buyers realize. The ink is pigment-based and needs to stay flexible, because a stiff print cracks. The powder is the adhesive, and its particle size and melt point determine how well the transfer holds up after washing.
When someone complains that their transfers peel at the corners, the answer is usually in one of those three parts, not in the press settings alone.
Press Settings That Actually Work
Every film brand publishes a temperature and time, and every one of them assumes your press is calibrated. Most are not. A press reading 160°C might be running at 145°C at the platen, which is enough to leave powder undercured and produce a transfer that looks fine on day one and fails on day ten.
Before changing anything else, check the platen with an infrared thermometer or a press probe. This single step solves a surprising number of mystery problems.
A Reliable Starting Point
- Temperature: 150 to 160°C at the platen, measured, not assumed
- Pressure: medium to firm, enough that you can see the fabric texture through the film
- Peel: warm peel for most films, cold peel for a few, always check the spec sheet
- Second press: 5 seconds with a cover sheet to lock the print into the fibers
That second press is the step most people skip. It costs five seconds and noticeably improves wash durability, especially on cotton.
Pre-Pressing Matters More Than You Think
Moisture is the enemy of adhesion. Cotton holds ambient humidity, and pressing a damp shirt traps that moisture under the film. A five second pre-press removes it. Skipping the pre-press is one of the most common causes of a transfer that lifts at the edges after a few washes, and it costs nothing to fix.
Powder and Curing: The Step Nobody Photographs
Powdering looks simple until you see the difference between a well-powdered print and a rushed one. The goal is an even coat with no bare ink and no thick drifts. Excess powder gets shaken off and reused, but only if it is clean and dry. Contaminated powder produces cloudy prints and weak bonds.
Curing is where the powder melts into the ink. Under-cure leaves a grainy surface that will not bond properly. Over-cure makes the print brittle and prone to cracking along fold lines. A quick visual check helps: the powder should look glossy and slightly wet, not matte and dusty.
If you are sourcing film for the first time, it is worth asking how the supplier stores it. Humidity-controlled storage makes a real difference to how consistently the powder behaves.
Finding a Supplier Without Wasting a Week
Searching for dtf transfers near me usually returns a mix of local print shops and online suppliers, and the two serve very different needs. Local shops are useful when you need a rush job or a single sample before committing to a roll. Online suppliers make more sense for volume, especially once you know exactly which film and powder combination your press likes.
When comparing suppliers, ask three questions: what film brand they stock, whether they sell powder separately, and how they ship in summer. Film that sits in a hot delivery van for two days can arrive with a compromised release coating, and you will only discover it when prints start sticking to the carrier.
Sample Before You Scale
Order a small quantity, press it on the fabrics you actually use, and wash one sample three times. A single test shirt tells you more than any spec sheet. Keep notes on temperature, pressure, and peel method for each film you try. After a few months you will have a short list of combinations that work, and you will stop guessing.
Common Problems and What They Usually Mean
- Peeling at the corners: undercured powder, damp fabric, or insufficient pressure
- Cracking after washing: over-cured print or too much powder in one area
- Dull or cloudy color: contaminated powder or a print that sat too long before powdering
- Film sticking to the press: wrong peel temperature or a missing cover sheet
- Patchy adhesion on polyester: press temperature too low for the fabric's heat tolerance
None of these require replacing your equipment. They require checking one variable at a time and writing down what changed.
Making DTF Work in a Small Shop
Shops that get consistent results from dtf transfers tend to share a few habits. They print daily so the heads stay wet. They keep a log of press settings per fabric. They store film flat and away from heat. They wash one test sample from every new roll.
None of that is glamorous, but it is the difference between a process you trust and one you dread. DTF rewards consistency more than skill. Once your settings are dialed in and your storage is sorted, the work becomes predictable, and predictable work is what lets a small shop take on more orders without hiring.
Frequently Asked Questions
How long do DTF transfers last after washing?
With correct curing, adequate pressure, and a pre-pressed garment, most transfers hold up through 30 to 50 home washes. Wash inside out in cold water and avoid high dryer heat to get the most life out of them.
Can I press DTF onto polyester without scorching it?
Yes, but polyester needs a lower temperature than cotton. Press around 140 to 150°C, use a cover sheet, and keep the time short. Test on a scrap piece of the same fabric first, since polyester blends vary a lot in heat tolerance.
Do I need a special printer for DTF?
You need a printer that accepts DTF pigment ink and a powder shaker or a manual powdering setup. Many shops convert a suitable inkjet printer, but the ink and the film must be matched to each other or the powder will not bond properly.
Why does my transfer feel stiff?
Stiffness usually comes from too much powder or from over-curing. Use a thinner, even coat, shake off the excess thoroughly, and cure only until the powder turns glossy. A five second second-press with a cover sheet also softens the hand feel.
Is DTF cheaper than screen printing for small orders?
For short runs and one-off designs, DTF is usually more economical because there are no screens to set up. Screen printing becomes cheaper per unit at higher volumes, so the crossover point depends on your order sizes and labor costs.