
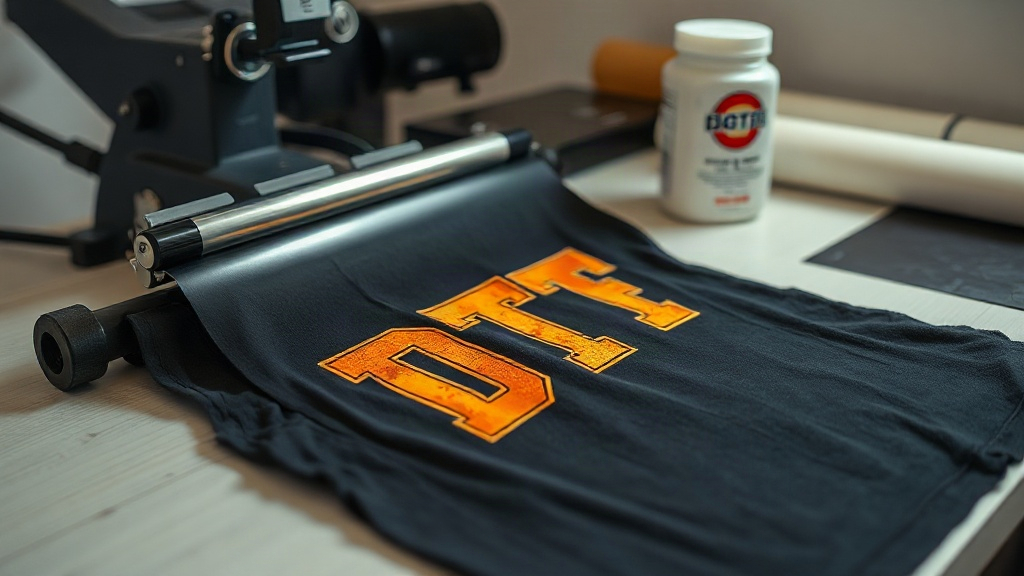
If you've been exploring custom apparel decoration, you've likely encountered DTF printing. It's a digital transfer method that's taken the garment industry by storm, and for good reason. Unlike traditional screen printing or vinyl cutting, DTF offers full-color, high-detail transfers without the setup costs or color limitations. But what exactly makes DTF tick, and how can you ensure your prints look professional and stand the test of time? In this guide, we'll walk through the entire DTF process, share practical tips, and help you avoid common pitfalls. Whether you're a hobbyist or a small business owner, mastering DTF can open up a world of creative possibilities.
What Is DTF Printing?
DTF stands for Direct to Film. It's a printing technique where your design is printed onto a special film, coated with a adhesive powder, and then heat-pressed onto the fabric. The magic lies in the film: it holds the ink and powder, allowing the design to transfer seamlessly. Unlike DTG (Direct to Garment), which prints directly onto the shirt, DTF lets you print on a wide range of materials, including cotton, polyester, blends, and even nylon. That versatility is a major reason for its popularity.
Why Choose DTF Over Other Methods?
There are several compelling reasons to consider DTF for your next project. First, it handles intricate details and gradients beautifully. If you've ever tried to screen print a photo, you know the struggle. With DTF, you can reproduce photorealistic images with ease. Second, there's no need for color separation or multiple screens, which saves time and money. Third, DTF transfers are incredibly durable when applied correctly. They stretch with the fabric without cracking, making them ideal for activewear. Finally, the cost per print is relatively low, especially for small batches. You can produce one-off designs without breaking the bank.
Step-by-Step DTF Printing Process
Let's break down the DTF workflow from start to finish. While the specifics may vary depending on your equipment, the core steps remain the same.
1. Design Preparation
Start with a high-resolution image. For best results, use 300 DPI at the final print size. Remember that DTF prints are mirror-imaged, so flip your design horizontally before printing. Also, consider the fabric color: if you're printing on dark garments, you'll need a white ink base. Most DTF printers handle this automatically, but it's good to know.
2. Printing the Film
Load your DTF film into the printer. The film has a coated side that receives the ink. Ensure you print on the correct side, or the ink won't adhere properly. Your printer will lay down the color inks followed by a white ink layer (if needed). The white ink acts as a base to make colors pop on dark fabrics.
3. Powder Application
While the ink is still wet, sprinkle the DTF adhesive powder evenly over the printed area. The powder sticks to the wet ink. Then, shake off the excess. You can use a powder shaker for even distribution. This step is crucial: the powder becomes the adhesive that bonds the transfer to the fabric.
4. Curing the Powder
Place the film in a curing oven or under a heat press (without pressure) to melt the powder. The powder should turn from a sandy texture to a glossy, gel-like state. This usually happens around 320°F (160°C) for about 2-3 minutes. Overcuring can make the transfer brittle, so keep an eye on it.
5. Heat Pressing
Now you're ready to transfer. Preheat your heat press to the recommended temperature for your fabric (typically 300-325°F). Place the transfer on the garment with the powder side down. Apply medium pressure for 15-20 seconds. Then, wait for the film to cool completely before peeling. Cold peel is standard for DTF, but some films are hot peel. Check your film's instructions. Once peeled, you're done!
Common DTF Problems and How to Fix Them
Even with the best equipment, issues can arise. Here are some common DTF problems and their solutions.
- Ink cracking after wash: This usually means the powder wasn't fully cured or the press temperature was too low. Increase curing time or temperature slightly.
- Transfer peeling off: Insufficient pressure or time during heat pressing. Ensure you're using medium to firm pressure and the correct dwell time.
- Faded colors: Using too little white ink or pressing at too high a temperature can cause colors to dull. Adjust your white ink layer and lower the press temp.
- Powder not sticking: The ink may have dried before powder application. Work quickly, or increase humidity in your workspace.
For more troubleshooting tips, check out our DTF resources.
Choosing the Right DTF Supplies
Not all DTF supplies are created equal. The quality of your film, powder, and ink significantly impacts the final result. Here's what to look for:
- Film: Choose a film that's compatible with your printer and offers good ink absorption. Thicker films are generally more durable but may require more pressure.
- Powder: Look for fine, consistent powder that melts evenly. Particle size affects the feel of the print; finer powder gives a softer hand.
- Ink: Use high-quality DTF inks designed for your printer. Cheap inks can clog printheads and produce dull colors.
At DTFHubPro, we offer a curated selection of DTF supplies that meet professional standards. Browse our shop to find everything you need.
DTF vs. Other Printing Methods: A Quick Comparison
How does DTF stack up against screen printing, DTG, and vinyl? Here's a quick rundown:
- Screen Printing: Best for large orders with simple designs. High setup costs, limited colors.
- DTG: Great for cotton, but limited on synthetics. Can be expensive per print.
- Vinyl: Good for simple text and shapes, but not for complex images. Limited color options.
- DTF: Versatile across fabrics, excellent for detailed designs, low minimums, and durable. The clear winner for small businesses and custom projects.
Frequently Asked Questions About DTF Printing
What fabrics can I use with DTF transfers?
DTF works on a wide range of fabrics, including cotton, polyester, cotton-poly blends, nylon, and even leather. It's not recommended for fabrics with heavy coatings or water-repellent finishes, as the adhesive may not bond properly.
How long do DTF prints last?
When applied correctly, DTF prints can last as long as the garment itself. They withstand repeated washing without cracking or fading. To maximize longevity, wash inside out in cold water and avoid harsh detergents.
Do I need a special printer for DTF?
You can convert an existing inkjet printer to use DTF inks and film, but dedicated DTF printers are available. They often have white ink channels and are optimized for the process. If you're serious about DTF, investing in a dedicated printer is worthwhile.
Can I use DTF on dark and light garments?
Absolutely. For dark garments, you'll need a white ink base under the colors. Most DTF printers handle this automatically. For light garments, you can print without white ink, but adding a white base can enhance vibrancy.
What is the best temperature for heat pressing DTF transfers?
Typically, 300-325°F (150-160°C) with medium pressure for 15-20 seconds. However, always follow the recommendations of your film and powder manufacturer, as specifics can vary.
Final Thoughts
DTF printing is a game-changer for anyone in the custom apparel space. It combines versatility, durability, and ease of use in a way that few other methods can match. By following the steps outlined here and paying attention to the details, you can produce professional-grade transfers right from your studio. Remember, practice makes perfect. Don't be discouraged if your first attempts aren't flawless; tweak your settings and you'll get there. For all your DTF supply needs, visit DTFHubPro.com. We're here to help you succeed.