
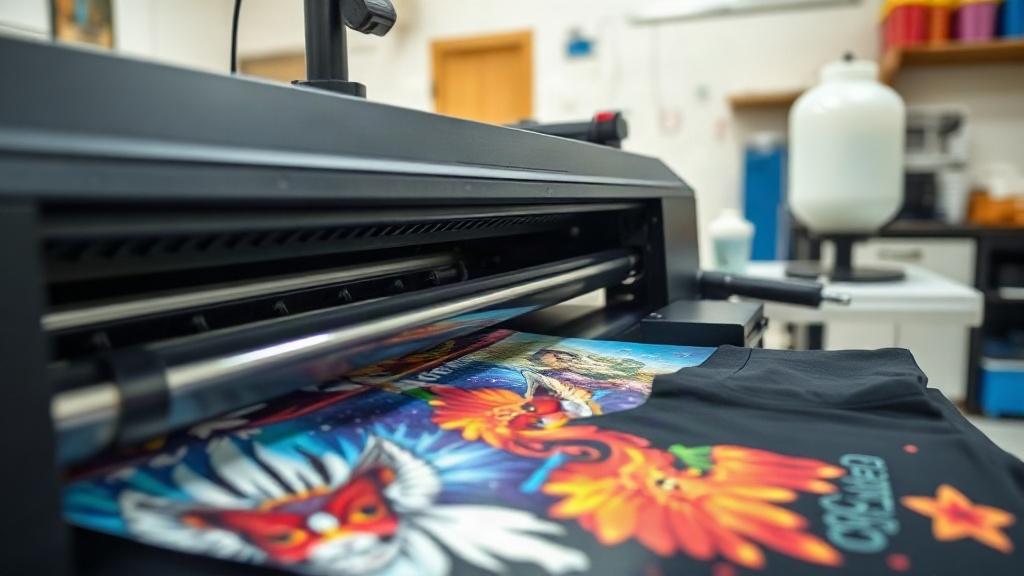
If you've been exploring custom apparel printing, you've likely encountered DTF printing. It stands for Direct to Film, and it's rapidly becoming a favorite among hobbyists and professionals alike. Unlike other methods, DTF allows you to print intricate designs onto a special film, then transfer them to a wide range of fabrics. The result? Vibrant, durable prints that feel soft to the touch. In this guide, I'll walk you through the entire process, sharing practical insights I've gathered from countless hours of printing. Whether you're just starting out or looking to refine your technique, this article will equip you with the knowledge to produce stunning DTF transfers.
What Exactly Is DTF Printing?
DTF printing is a digital printing method where your design is printed onto a PET film using specialized inks. A powdered hot-melt adhesive is then applied to the wet ink, and after curing, the transfer is ready to be pressed onto fabric. The magic lies in the adhesive: it bonds the ink to the fabric, creating a flexible, stretchable print. This process works on cotton, polyester, blends, and even some treated nylons. Because no pre-treatment is required (unlike DTG on dark garments), DTF is incredibly versatile.
Why Choose DTF Over Other Methods?
You might wonder how DTF compares to screen printing, DTG, or vinyl. Here's a quick breakdown:
- No color limitations: DTF can print full-color images with gradients and fine details without needing separate screens or plates.
- Fabric versatility: It adheres to cotton, polyester, blends, and more. You're not limited to 100% cotton like with DTG.
- Durability: When applied correctly, DTF prints withstand repeated washing without cracking or fading.
- Cost-effective for short runs: No setup fees, making it ideal for one-offs or small batches.
- Soft feel: The prints are thin and stretch with the fabric, avoiding the plastic-like texture of some heat transfers.
Essential Supplies for DTF Printing
Before you dive in, gather these items:
- DTF printer: A dedicated printer with DTF inks (often converted Epson models).
- DTF film: PET film sheets or rolls, usually 75 microns thick. Available in cold or hot peel.
- DTF powder: Thermoplastic polyurethane (TPU) adhesive powder, typically 80-200 microns.
- Curing oven or heat press: For melting the powder.
- Heat press: For transferring the design to fabric.
- Design software: RIP software or a printer driver that handles white ink layering.
Quality supplies make a huge difference. Cheap film can cause ink smearing, while low-grade powder may lead to poor adhesion. I learned this the hard way when I tried to cut costs on film, only to ruin several prints. Invest in reputable brands.
Step-by-Step DTF Printing Process
1. Preparing Your Artwork
Start with a high-resolution image (300 DPI is ideal). DTF printing requires a white ink base, so your design should have transparent areas where you want the fabric to show through. Most RIP software automatically generates the white layer, but you can also create it manually. Remember to mirror your design horizontally before printing; this is crucial for text and asymmetrical graphics.
2. Printing the Transfer
Load your DTF film into the printer, ensuring the coated side faces the printhead. Print your design using the appropriate settings. The printer will lay down color inks first, followed by a white ink layer. Some printers do the opposite, so check your manual. After printing, you'll have a wet, colorful image on the film.
3. Applying the Powder
While the ink is still wet, sprinkle DTF powder evenly over the design. Gently shake off the excess. You want a thin, consistent layer of powder sticking only to the ink. Too much powder can cause a rough texture; too little leads to weak adhesion. A powder shaker or a simple spoon works fine. I prefer using a dedicated powder applicator for even coverage.
4. Curing the Powder
Place the powdered film in a curing oven at around 160°C (320°F) for 2-3 minutes, or until the powder melts and becomes glossy. Alternatively, you can use a heat press with low pressure for about 30 seconds. The goal is to melt the powder into a continuous adhesive layer. Overcuring can make the film brittle, so keep an eye on it. Once cured, the transfer can be stored for later use.
5. Transferring to Fabric
Set your heat press to 160-170°C (320-340°F) with medium pressure. Place the transfer on the fabric with the film side up. Press for 10-15 seconds. If using cold peel film, let it cool completely before peeling; for hot peel, remove immediately. I recommend doing a peel test on a scrap piece first to determine the best timing for your film.
Common DTF Problems and How to Fix Them
Even with experience, issues can arise. Here are some frequent problems and solutions:
- Ink smudging: Usually caused by too much ink or low-quality film. Reduce ink density or switch to a better film.
- Powder not sticking: The ink may be too dry. Increase humidity or print a fresh transfer and apply powder immediately.
- Transfer peeling after wash: Insufficient pressure, temperature, or time during transfer. Also, ensure the powder is fully cured.
- Stiff print: Too much powder or overcuring. Use less powder and cure just until glossy.
- Color fading: Incompatible fabric or improper curing. Always test on a swatch.
I once had a batch of transfers that cracked after washing. Turned out my heat press pressure was too low. Adjusting it solved the problem.
DTF vs. Other Printing Methods: A Quick Comparison
To help you decide, here's how DTF stacks up:
- DTG: Great for cotton, but requires pretreatment and often struggles with polyester. DTF is more versatile.
- Screen Printing: Cost-effective for large runs but setup costs are high. DTF wins for small batches.
- Vinyl: Limited to simple designs and solid colors. DTF handles complex images.
- Sublimation: Only works on polyester and light colors. DTF works on any color and many fabrics.
Frequently Asked Questions
What fabrics work best with DTF printing?
DTF works well on cotton, polyester, cotton-poly blends, and even some nylons. It's not recommended for fabrics with heavy coatings or waterproof treatments, as the adhesive may not bond properly.
How long do DTF transfers last?
When applied correctly, DTF prints can last 50+ washes without significant fading or cracking. Proper curing and transfer settings are key to longevity.
Can I use DTF on dark garments?
Absolutely. The white ink layer in DTF printing provides an opaque base, allowing vibrant colors on dark fabrics. No pre-treatment needed.
Do I need a special printer for DTF?
Yes, you need a printer that uses DTF inks and can handle white ink. Many convert Epson printers for this purpose. Dedicated DTF printers are also available.
What is the shelf life of DTF transfers?
Cured transfers can be stored for several months if kept in a cool, dry place away from direct sunlight. I've used transfers that were six months old with no issues.
Mastering DTF printing opens up a world of possibilities for custom apparel. With the right supplies and a bit of practice, you'll be creating professional-grade transfers in no time. Remember to test, adjust, and have fun with it.