
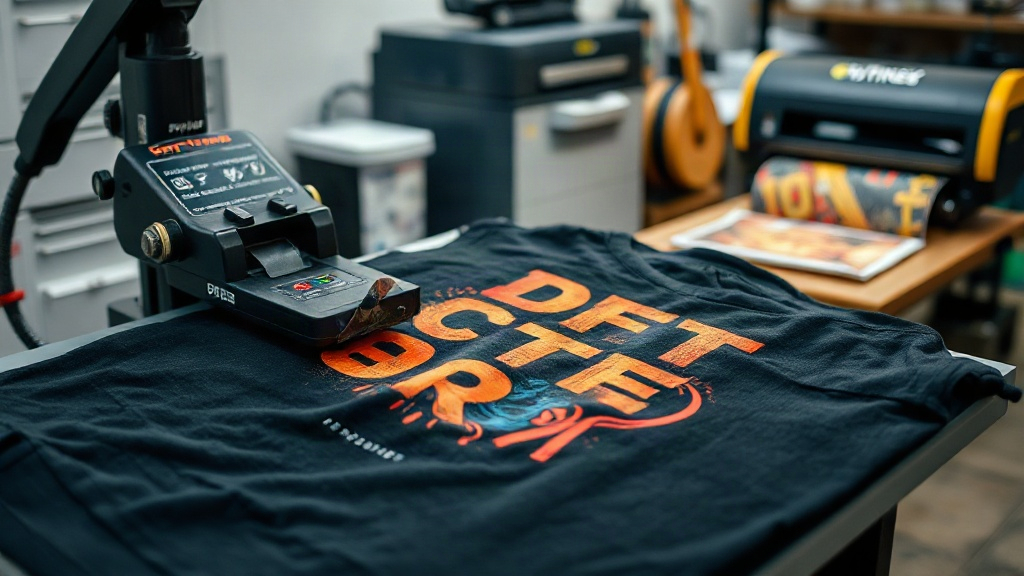
If you've been exploring custom apparel printing, you've likely encountered DTF Transfers. This innovative technology is rapidly gaining popularity for its versatility and vibrant results. Unlike traditional methods, DTF transfers allow you to print full-color designs on a wide range of fabrics without the need for weeding or special pretreatment. In this guide, we'll walk you through everything you need to know to get started with DTF transfers, from understanding the process to applying them like a pro.
What Are DTF Transfers?
DTF stands for Direct to Film. It's a printing method where your design is printed onto a special film, coated with a adhesive powder, and then cured. The result is a transfer that can be heat-pressed onto fabrics. The key advantage is that DTF transfers work on almost any fabric, including cotton, polyester, blends, and even leather. They also produce extremely durable, stretchable prints that withstand repeated washing.
How DTF Transfers Differ from Other Methods
Compared to DTG (Direct to Garment) or screen printing, DTF transfers offer unique benefits. DTG requires pretreatment and works best on 100% cotton, while screen printing is cost-effective for large orders but limited in color complexity. DTF transfers eliminate these constraints: no pretreatment, no color limitations, and no minimum order quantity. Plus, you can print on dark garments without a white underbase, saving time and money.
The DTF Transfer Process Step by Step
1. Design Preparation
Start with a high-resolution image. DTF printers can handle intricate details, but a minimum of 300 DPI is recommended. Remember to mirror your design horizontally before printing, as the transfer will be flipped when applied.
2. Printing
Your design is printed onto a PET film using specialized DTF inks. The printer lays down a white ink layer first (for opacity), followed by CMYK colors. Some printers also use a white layer on top to protect the colors.
3. Powder Application
While the ink is still wet, a hot-melt adhesive powder is sprinkled over the film. The excess powder is shaken off, leaving a thin, even layer adhering to the ink.
4. Curing
The film is then heated to melt the powder, usually in a curing oven or with a heat press. This step is crucial; under-curing leads to poor adhesion, while over-curing can cause the film to warp.
5. Transfer Application
Finally, the transfer is placed on the fabric and pressed with a heat press. After pressing, the film is peeled off (hot or cold peel, depending on the film type), leaving the design bonded to the fabric.
Choosing the Right DTF Supplies
Not all DTF films and powders are created equal. For best results, invest in quality supplies from reputable brands. Consider the following:
- Film: Look for double-sided matte or glossy PET film. Matte film tends to produce a softer hand feel.
- Ink: Use DTF-specific inks; regular DTG inks won't work.
- Powder: Choose a fine, consistent powder for even adhesion. TPU-based powders are common.
Heat Press Settings for DTF Transfers
Getting the temperature, pressure, and time right is essential. Here's a starting point, but always test with your specific equipment:
- Temperature: 325°F to 350°F (160°C to 175°C)
- Pressure: Medium to high (40-60 PSI)
- Time: 15-20 seconds
- Peel: Hot peel for most films, but check manufacturer instructions.
After pressing, it's a good idea to press again with a Teflon sheet for a few seconds to smooth the print and ensure maximum durability.
Common DTF Transfer Problems and Fixes
Even with the best supplies, issues can arise. Here are some common problems and how to solve them:
- Design cracking or peeling after wash: Increase pressure or temperature, or ensure proper curing of the powder.
- Colors look dull: You might need more white ink or a higher white layer. Also, check that your fabric is clean and dry.
- Film won't peel off: The transfer may be too hot or too cold. Adjust peel temperature accordingly.
Why Choose DTF Transfers for Your Business
If you're running a custom apparel business, DTF transfers offer a competitive edge. They allow you to take on small, personalized orders without the setup costs of screen printing. The prints are durable, vibrant, and work on a huge variety of garments. Plus, the process is relatively clean and straightforward, making it accessible for beginners.
Frequently Asked Questions
How long do DTF transfers last?
With proper application and care, DTF transfers can last for years. They are known for their durability, often outlasting the garment itself. Washing inside out in cold water and avoiding bleach will extend their life.
Can I use DTF transfers on 100% polyester?
Absolutely. DTF transfers adhere well to polyester and other synthetic fabrics. However, you may need to lower the heat press temperature slightly to prevent scorching.
Do I need a special printer for DTF?
Yes, you need a DTF printer that uses DTF inks and can handle the film. However, many converted Epson printers are popular for DTF. Alternatively, you can outsource printing to a DTF service.
What is the difference between DTF and DTG?
DTG prints directly onto the garment, often requiring pretreatment and works best on cotton. DTF prints onto a film first, then transfers to the garment, allowing use on more fabrics and eliminating pretreatment.
How do I store DTF transfers?
Store unused transfers in a cool, dry place, away from direct sunlight. Keep them flat to avoid creasing. Properly stored, they can last for several months.